
코딩하는 해맑은 거북이
[PyTorch] PyTorch 기본 본문
본 게시물의 내용은 '부스트캠프 AI Tech - PyTorch(최성철)' 강의를 듣고 작성하였다.
해당 글은 아래의 3가지를 다룬다.
1. PyTorch 란?
2. PyTorch Operations
▶ Tensor
▶ Tensor data types
▶ Tensor handling
▶ Tensor operations
▶ Tensor operations for ML/DL formula
▶ AutoGrad
3. PyTorch Project Template
▶ Module 구성
1. PyTorch 란?
- Numpy + AutoGrad(자동미분) + Function
- Numpy 구조를 가지는 Tensor객체로 array 표현한다.
- 자동미분을 지원하여 DL연산을 지원한다.
- 다양한 형태의 DL을 지원하는 함수와 모델을 지원한다.
2. PyTorch Operations
- 다차원 Arrays를 표현하는 PyTorch 클래스
- 사실상 numpy의 ndarray와 동일 (즉, TensorFlow의 Tensor와도 동일)
- Tensor를 생성하는 함수도 거의 동일
* numpy to tensor
: 아래의 코드와 같이 numpy의 ndarray와 거의 동일한 것을 볼 수 있다.
import numpy as np
n_array = np.arange(10).reshape(2,5)
print(n_array)
print("ndim :", n_array.ndim, "shape :", n_array.shape)
import torch
t_array = torch.FloatTensor(n_array)
print(t_array)
print("ndim :", t_array.ndim, "shape :", t_array.shape)print(t_array.shape)
print(t_array.ndim)
print(t_array.size())
* Array to Tensor
: Tensor의 생성은 list나 ndarray를 사용 가능하다.
하지만, 딥러닝에선 이 방법을 통해 생성해서 사용하는 경우는 거의 없다.
data = [[3, 5],[10, 5]]
x_data = torch.tensor(data)
x_data
nd_array_ex = np.array(data)
tensor_array = torch.from_numpy(nd_array_ex)
tensor_array
기본적으로 tensor가 가질 수 있는 data 타입은 numpy와 동일하나, GPU를 쓸 수 있게 해주냐 마냐에 따라 조금 차이가 있음. (GPU tensor)
| Data type | dtype | CPU tensor | GPU tensor |
| 32-bit floating point | torch.float32 or torch.float | torch.FloatTensor | torch.cuda.FloatTensor |
| 64-bit floating point | torch.float64 or torch.double | torch.DoubleTensor | torch.cuda.DoubleTensor |
| 16-bit floating point [1] | torch.float16 or torch.half | torch.HalfTensor | torch.cuda.HalfTensor |
| 16-bit floating point [2] | torch.bfloat16 | torch.BFloat16Tensor | torch.cuda.BFloat16Tensor |
| 32-bit complex | torch.complex32 or torch.chalf | ||
| 64-bit complex | torch.complex64 or torch.cfloat | ||
| 128-bit complex | torch.complex128 or torch.cdouble | ||
| 8-bit integer (unsigned) | torch.uint8 | torch.ByteTensor | torch.cuda.ByteTensor |
| 8-bit integer (signed) | torch.int8 | torch.CharTensor | torch.cuda.CharTensor |
| 16-bit integer (signed) | torch.int16 or torch.short | torch.ShortTensor | torch.cuda.ShortTensor |
| 32-bit integer (signed) | torch.int32 or torch.int | torch.IntTensor | torch.cuda.IntTensor |
| 64-bit integer (signed) | torch.int64 or torch.long | torch.LongTensor | torch.cuda.LongTensor |
| Boolean | torch.bool | torch.BoolTensor | torch.cuda.BoolTensor |
| quantized 8-bit integer (unsigned) | torch.quint8 | torch.ByteTensor | / |
| quantized 8-bit integer (signed) | torch.qint8 | torch.CharTensor | / |
| quantized 32-bit integer (signed) | torch.qint32 | torch.IntTensor | / |
| quantized 4-bit integer (unsigned) [3] | torch.quint4x2 | torch.ByteTensor | / |
(출처: https://pytorch.org/docs/stable/tensors.html)
- 기본적으로 pytorch의 대부분의 사용법이 그대로 적용된다. (slicing, flatten(), ones_like(), numpy(), shape, dtype)
data = [[3, 5, 20],[10, 5, 50], [1, 5, 10]]
x_data = torch.tensor(data)x_data[1:]x_data[:2, 1:]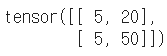
x_data.flatten()
torch.ones_like(x_data)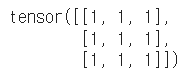
x_data.numpy()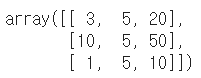
x_data.shape
x_data.dtype
- pytorch의 tensor는 GPU에 올려서 사용가능하다. (ndarray와의 차이점)
x_data.device
if torch.cuda.is_available():
    x_data_cuda = x_data.to('cuda')
x_data_cuda.device
: view, squeeze, unsqueeze 등으로 tensor 조정가능
- view : reshape과 동일하게 tensor의 shape을 변환
* view와 reshape은 contiguity 보장의 차이
+ view : contiguous를 유지한 채 사이즈를 변환한다. (메모리 주소에 접근)
+ reshape : contiguous가 보장되지 않으면 copy하여 사이즈를 변환한다. (값에 접근)
tensor_ex = torch.rand(size=(2, 3, 2))
tensor_ex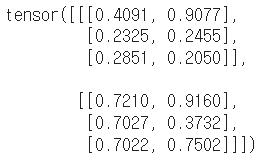
tensor_ex.view([-1, 6])
tensor_ex.reshape([-1,6])a = torch.zeros(3, 2)
b = a.view(2, 3) # view : 사용하는 '메모리 주소' 그대로 가져와서 형태만 바꿈
a.fill_(1) # 그래서 a만 1로 바꿨음에도 b도 변경된것을 볼 수 있음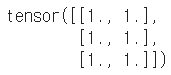
ab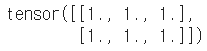
a = torch.zeros(3, 2)
b = a.t().reshape(6)  # reshape : 사용하는 '값'을 가져와서 형태를 바꿈
a.fill_(1)ab
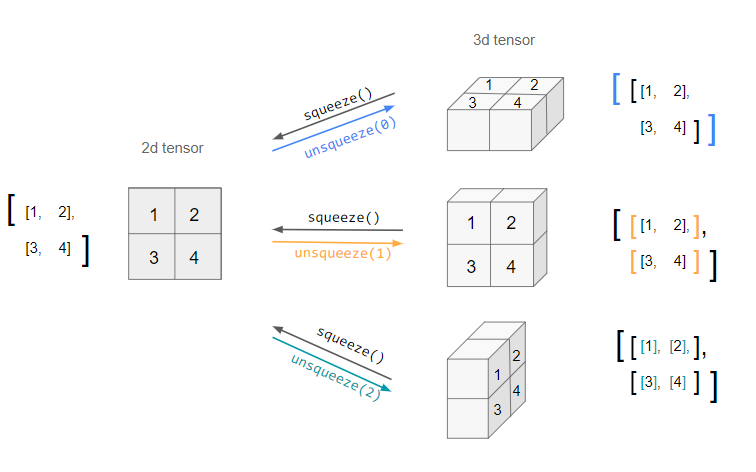
- squeeze : 차원의 개수가 1인 차원을 삭제 (압축)
- unsqueeze : 차원의 개수가 1인 차원을 추가 (axis 설정가능)
tensor_ex = torch.rand(size=(2, 1, 2))
tensor_ex.squeeze()
tensor_ex = torch.rand(size=(2, 2))
tensor_ex.unsqueeze(0).shape
tensor_ex.unsqueeze(1).shape
tensor_ex.unsqueeze(2).shape
- 기본적인 tensor의 operations는 numpy와 동일
n1 = np.arange(10).reshape(2,5)
n2 = np.arange(10).reshape(5,2)
t1 = torch.FloatTensor(n1)
t2 = torch.FloatTensor(n2)

t1 + t1
t1 - t1
t1 + 10
t1 + t2 # Error : shape이 다름
- 행렬곱셈 연산은 함수는 dot이 아닌 mm 사용
+ dot 함수 : 벡터 간 내적
+ mm 함수 : 행렬 간 내적
n1 = np.arange(10).reshape(2,5)
t1 = torch.FloatTensor(n1)
n2 = np.arange(10).reshape(5,2)
t2 = torch.FloatTensor(n2)

t1.mm(t2)   # 행렬 간에 내적은 mm 함수를 쓴다 / 벡터 간 내적은 dot 함수를 쓴다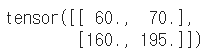
t1.dot(t2) # dot : 행렬 간 연산 지원X
t1.matmul(t2)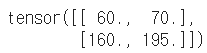
a = torch.rand(10)
b = torch.rand(10)
a.dot(b)
a
a = torch.rand(10)
b = torch.rand(10)
a.mm(b)   # mm : 벡터 간 연산 지원X
- mm과 matmul은 broadcasting 지원 차이
+ mm 함수 : broadcasting 지원X
+ matmul 함수 : broadcasting 지원O
a = torch.rand(5, 2, 3)
b = torch.rand(5)
a.mm(b)
a = torch.rand(5, 2, 3)
b = torch.rand(3)
a.matmul(b)     # mm과 차이점 : broadcasting 지원한다.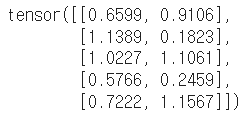
아래와 같이 한개씩 떼어내서 연산하는 것과 같다.
a[0].mm(torch.unsqueeze(b,1))

# 뒤에 squeeze 함수를 붙인 결과값이 정확하긴 하다. 2x1 -> 1x2로 변환
# a[0].mm(torch.unsqueeze(b,1)).squeeze()
a[1].mm(torch.unsqueeze(b,1))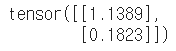
a[2].mm(torch.unsqueeze(b,1))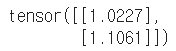
a[3].mm(torch.unsqueeze(b,1))
a[4].mm(torch.unsqueeze(b,1))
▶ Tensor operations for ML/DL formula
- nn.functional 모듈을 통해 다양한 수식 변환을 지원한다.
import torch
import torch.nn.functional as F

tensor = torch.FloatTensor([0.5, 0.7, 0.1])
h_tensor = F.softmax(tensor, dim=0)
h_tensor
y = torch.randint(5, (10,5))
y_label = y.argmax(dim=1)

y_label
torch.nn.functional.one_hot(y_label)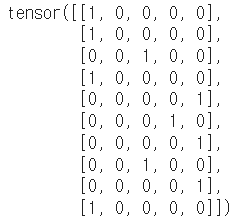
import itertools
a = [1, 2, 3]
b = [4, 5]
list(itertools.product(a, b))
tensor_a = torch.tensor(a)
tensor_b = torch.tensor(b)
torch.cartesian_prod(tensor_a, tensor_b)
- PyTorch의 핵심은 자동 미분의 지원 → backward 함수 사용
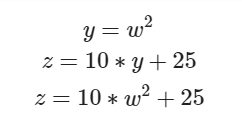
w = torch.tensor(2.0, requires_grad=True)
y = w**2
z = 10*y + 50
z.backward()
w.grad
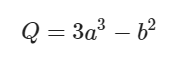
a = torch.tensor([2., 3.], requires_grad=True)
b = torch.tensor([6., 4.], requires_grad=True)
Q = 3*a**3 - b**2
external_grad = torch.tensor([1., 1.])
Q.backward(gradient=external_grad)

a.grad

b.grad

a.gradb.grad
3. PyTorch Project Template
https://github.com/victoresque/pytorch-template
GitHub - victoresque/pytorch-template: PyTorch deep learning projects made easy.
PyTorch deep learning projects made easy. Contribute to victoresque/pytorch-template development by creating an account on GitHub.
github.com
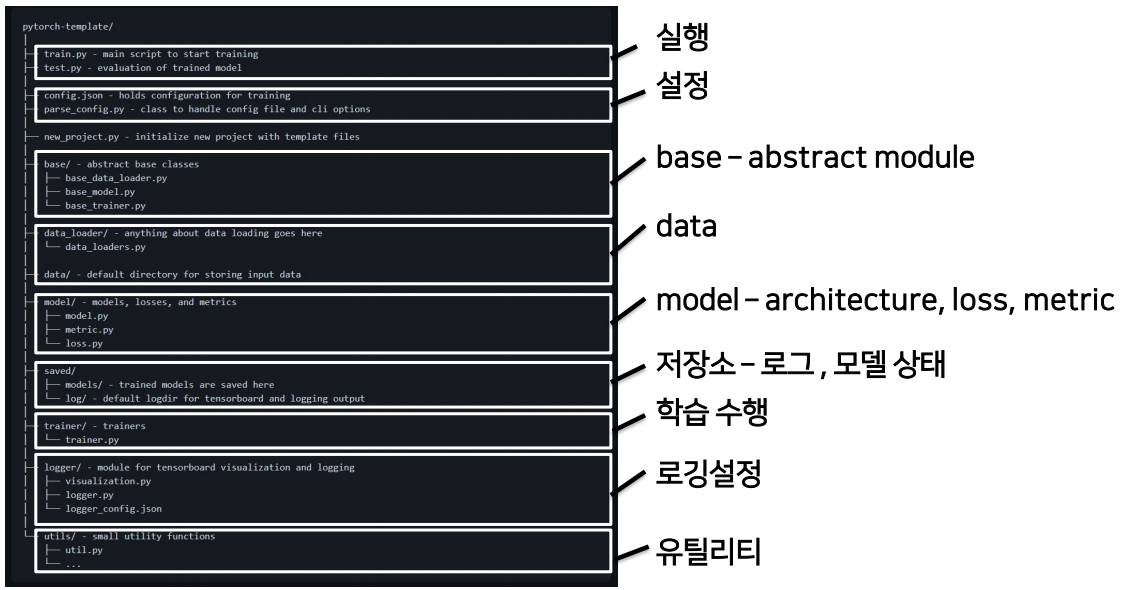
* 전체적인 흐름
train.py로 실행 -> config.json 파일 불러오기 -> parse_config.py의 ConfigParser로 넘기기 -> from_args : 객체 생성하기 -> util.py의 read_json(파일읽어와서 OrderedDict형태로 변환)해서 config에 저장 -> config를 cls로 return(클래스 형태로 리턴하기 때문에 객체생성되서 리턴됨) -> main 실행 -> parse_config.py의 get_logger 함수(로깅을 train or test 결정) -> data_loader 변수 설정 : parse_config.py의 init_obj 함수의 파라미터로 data_loaders.py의 module_data를 넣음(이는 MinistDataLoader를 불러오기 위함) -> config.json 파일의 정보(type, args)들을 불러옴 -> getattr로 MinistDataLoader를 불러옴(getattr을 사용하는 이유 : 하드코딩으로 변경시 전부다 이름을 바꿔야하는 현상이 있음. 그래서 config.json 파일만을 변경해서 사용할 수 있게 해줌) -> model 변수 설정 : parse_config.py의 init_obj 함수의 파라미터로 model.py의 module_arch를 넣음(이는 MnistModel를 불러오기 위함) -> 각각의 init_obj를 사용해서 클래스를 연결해준 뒤 -> trainer.py의 Trainer 함수로 모델, 데이터, loss 값 등등을 넣어줘서 Trainer.train() 함수 실행 -> Trainer 함수의 파라미터로 base_trainer.py의 BaseTrainer를 넣음 -> BaseTrainer의 train 함수로 학습을 실행(에폭설정, 로깅, 진짜 실행코드는 trainer.py안에 Trainer 클래스의 상속받은 _train_epoch 함수이다.)
* 중간중간 학습을 할때마다 _save_checkpoint 함수로 학습결과를 저장한다.
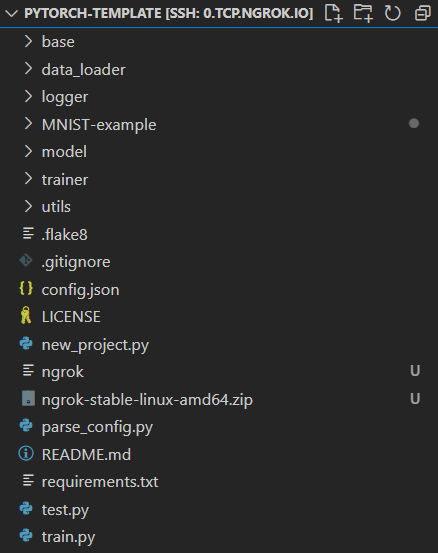
* VS Code와 colab ssh 연결한 후 실행시 코드
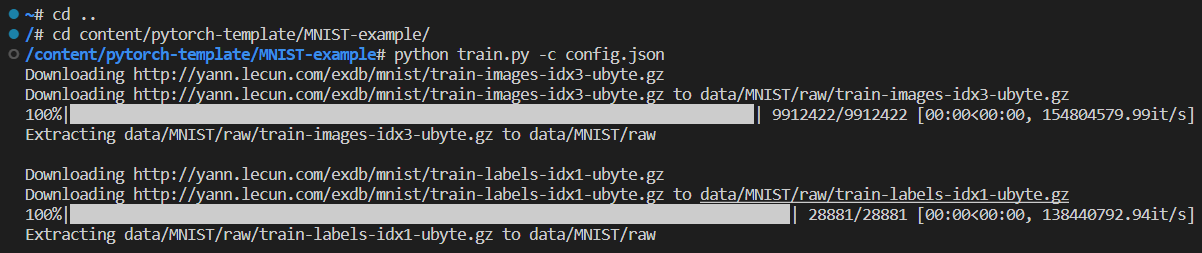
* 실행 결과
10 epoch 동안 Validation 성능이 향상되지 않아서 학습을 중단!

* parse_config.py의 __getitem__ 함수
: index를 넣어주면, 해당 index의 값을 불러주는 함수
class Test(object):
    def __getitem__(self, items):
        print (type(items), items)

# Driver code
test = Test()
test[5]
test[5:65:5]
test['GeeksforGeeks']
test[1, 'x', 10.0]
test['a':'z':2]
test[object()]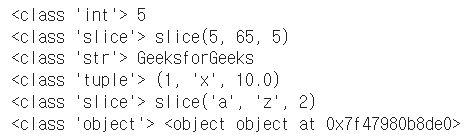
'Python > Tensorflow | PyTorch' 카테고리의 다른 글
| [PyTorch] 사칙연산 (0) | 2023.03.17 |
|---|---|
| [PyTorch] PyTorch 활용하기 (0) | 2023.03.16 |
| [PyTorch] PyTorch 구조2 (0) | 2023.03.15 |
| [PyTorch] PyTorch 구조1 (0) | 2023.03.13 |
| [Tensorflow] Tensorflow 정의 및 동작 방식 (0) | 2021.03.19 |

